Sourdough Artisan Bread

I figure it’s about time I share my sourdough recipe with all of you! I’ve tried a few variations of sourdough artisan bread, but I always go back to this method/recipe because it has the best flavor and texture! Crispy outside and chewiest inside!! For extra tips/tricks and some video clips, we have a highlight on our instagram (@simmerandslice). In order to make this recipe, you need an active sourdough start. It takes anywhere from 4-8 hours for your start to be active or at “peak” after you feed it, so make sure you plan accordingly. You can tell when your start is active because it will float.
There are a few different ways to feed your starter, and honestly not one is “right” or “wrong.” I typically discard enough so that I’m left with about 1/2 cup and then I add about a cup of water and flour. You can also do the 1-1-1 method where you add equal amounts of starter, water, and flour. Just make sure you have a thick pancake batter-like consistency. The thicker you feed the start, the faster it will become active.

My two favorite times to feed my start and begin my bread are as follows:
- Feed start first thing in the morning, start dough after lunch and do coil folds for two hours, let bulk rise until after dinner/before bed, shape loaves and then put them in the fridge overnight and bake first thing the next morning.
- Feed start after lunch, start dough in the evening around 7-8, do two hours of stretch and folds, cover and refrigerate dough overnight. Remove from fridge in the morning and let bread come back to room temp and then do its bulk rise. Shape bread after lunch, place in bannetons, refrigerate for 2 hours and then bake right before dinner!
Obviously this is a general “how-to” because everyone’s house is different temperatures and everyone’s starter will behave differently based on how strong it is and how much you feed it. Take this all with a grain of salt and know that practicing is the best way to figure out how and when YOU like to make your bread!
Also, I am aware that I skip the autolyse step–I have done my bread both ways and have not noticed a difference in the end result so now I just add all my ingredients right at the start and it turns out amazing!

SOURDOUGH ARTISAN BREAD
makes two loaves
Supplies:
- Large mixing bowl
- Kitchen scale
- Dough whisk
- Banneton baskets
- Dutch oven/cast iron pot
- Silicone and regular dough scrapers
- Unbleached parchment
- Bread lame
Ingredients:
- 250 g active start
- 730 g filtered water
- 24 g french gray or sea salt
- 1000 g unbleached bread flour
Directions:
- Place mixing bowl on scale and zero it out. Add active start.
- Zero out the scale and add filtered water. Stir with a dough hook until mostly combined–the water will appear milky.
- Zero scale again and add salt.
- Zero scale one last time, add flour, and mix. I like to start with my dough hook and finish by kneading with my hands. The dough will be sticky. Once all flour is combined, scrape down the sides of the bowl with a rubber dough scraper and cover with a damp towel, plastic shower cap, or saran wrap and let rest 30 minutes.
- After 30 minutes, wet hands slightly and do a coil fold. This is done by lifting the dough from the center and letting the ends of the dough fold under itself. Repeat until all of the dough can be lifted, then rotate the bowl and do the same thing in the other direction. Cover and let rest another 30 minutes.
- Wet hands slightly and do another coil fold.
- Repeat until you’ve done a total of four coil folds, letting the dough rest (covered) for 30 minutes in between each fold.
- After the last coil fold, cover the dough and let rest until almost doubled and slightly domed. This can take anywhere from 2-6 hours. You can also pause the process at this step and place the covered bowl in the fridge until you’re ready to let it do the bulk rise. I like to start my dough after dinner, do the coil folds, then place it in the fridge overnight and let it do the bulk rise in the morning.
- Once the dough is done proofing (you can test if it’s ready by gently tapping the top–if your finger doesn’t stick to it, that’s a good sign it is ready), turn it out onto a clean counter. If your dough is not under or over proofed, it won’t stick to the counter.
- Split the dough in half and gently shape both halves by building tension. I like to stretch it slightly, then take the edges and fold them into the center, roll it so the folds are on the bottom, and push/pull until you have a nice tight dome (there are videos of this on our instagram).
- Lightly flour some fabric covered banneton baskets with flour and turn your dough (dome-side down) into the baskets. Cover and place in the fridge for at least 2 or up to 8 hours (you can leave them longer if you didn’t proof the dough as long before shaping, but if your dough was overproofed before shaping, I wouldn’t do the full 8 hours).
- When ready to bake, place cast iron pot in the oven and then preheat it to 475 degrees F. I like to place a small baking sheet on the lower rack (under the rack where I place my dutch oven) to help disperse the heat and keep the bottom of my bread from burning.
- Once the oven is up to temperature, remove one banneton from the fridge and gently turn it out onto a sheet of parchment dusted with corn meal.
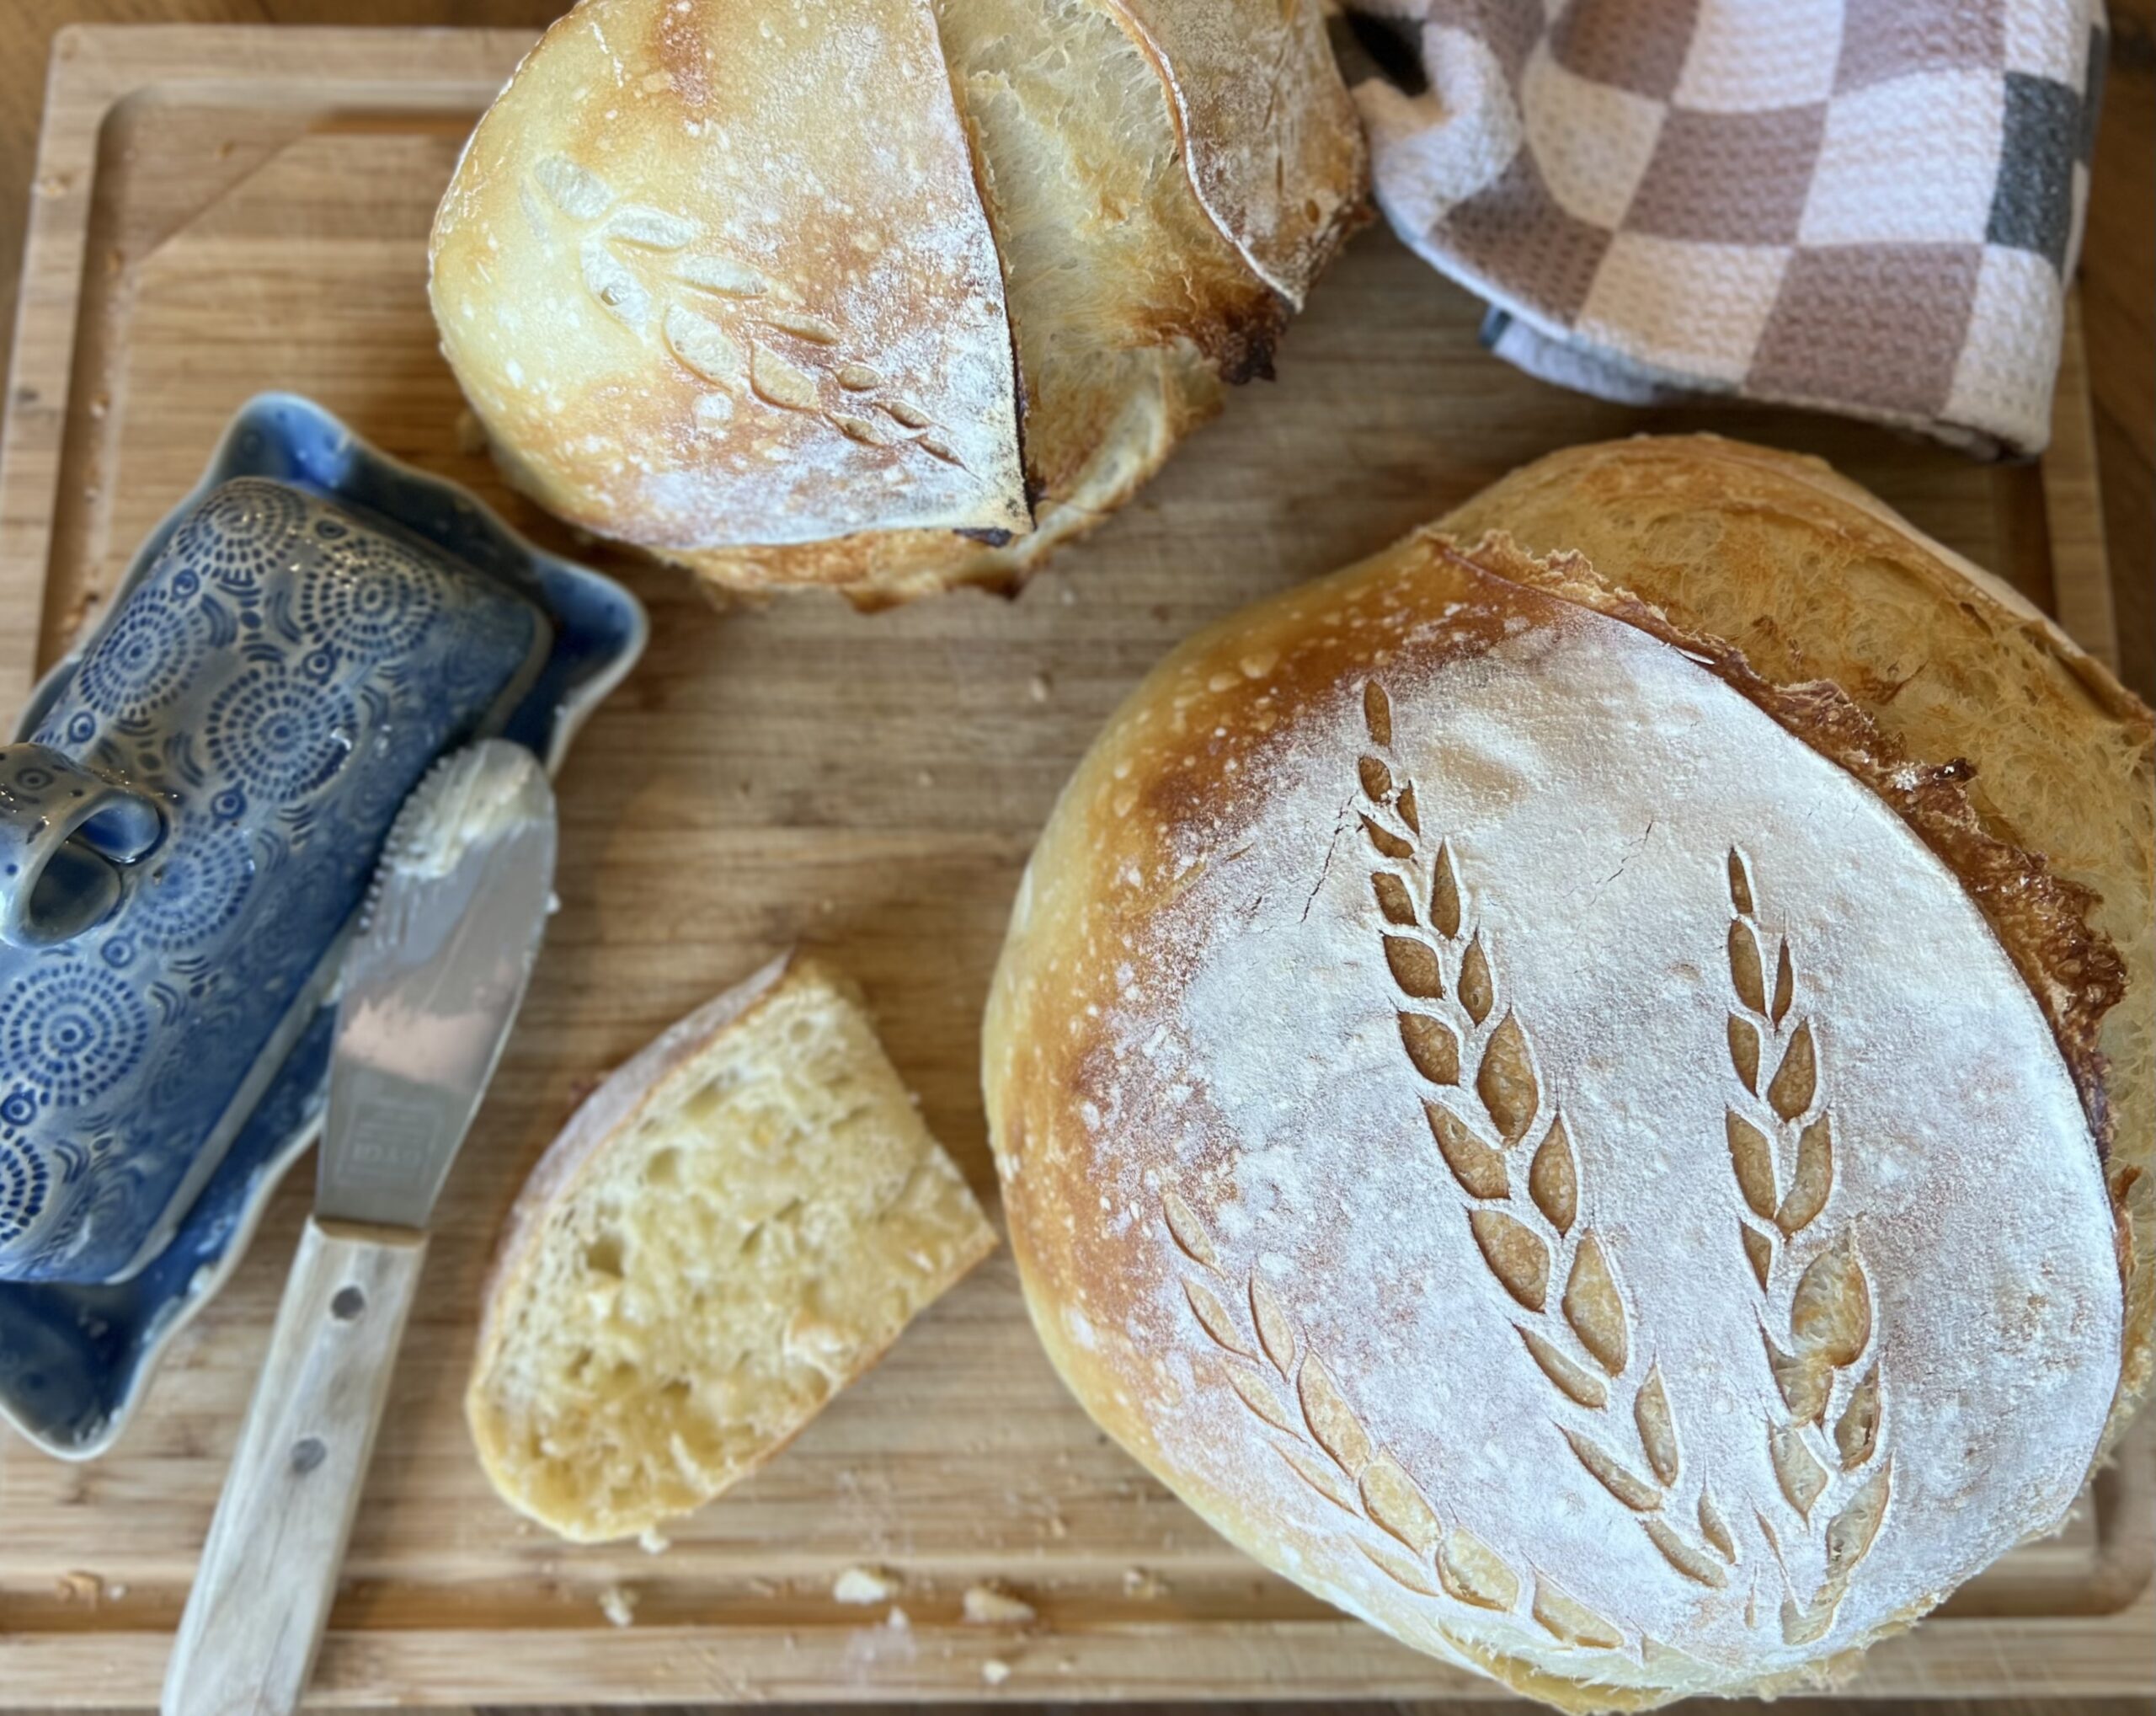
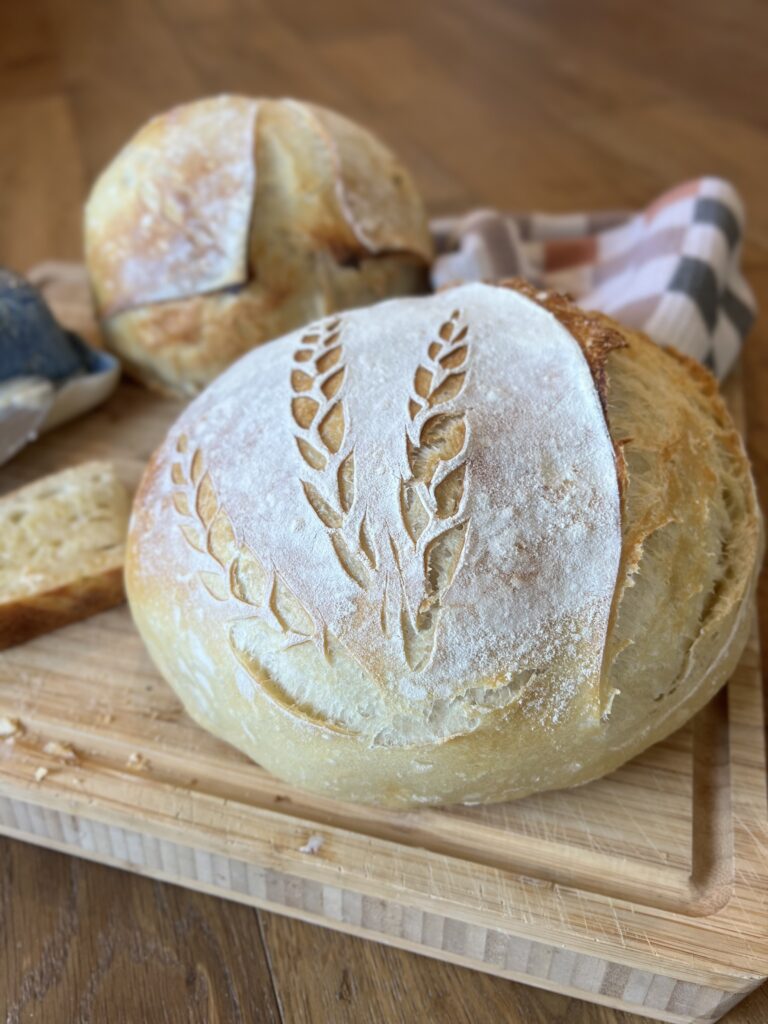
- Turn out the dough onto the parchment and score it with one bigger cut at an angle and add any designs with small cuts using a bread lame or a very sharp knife. Remove preheated pan from oven and place two ice cubes inside. Add dough to the hot pan carefully by lifting the sides of the parchment and return the lid.
- Bake with the lid on for 30 minutes and then remove the lid and bake another 8-10 minutes, until the crust is a nice rich brown in color. Let bread cool before slicing.
- Click here for links to my sourdough must-haves!

