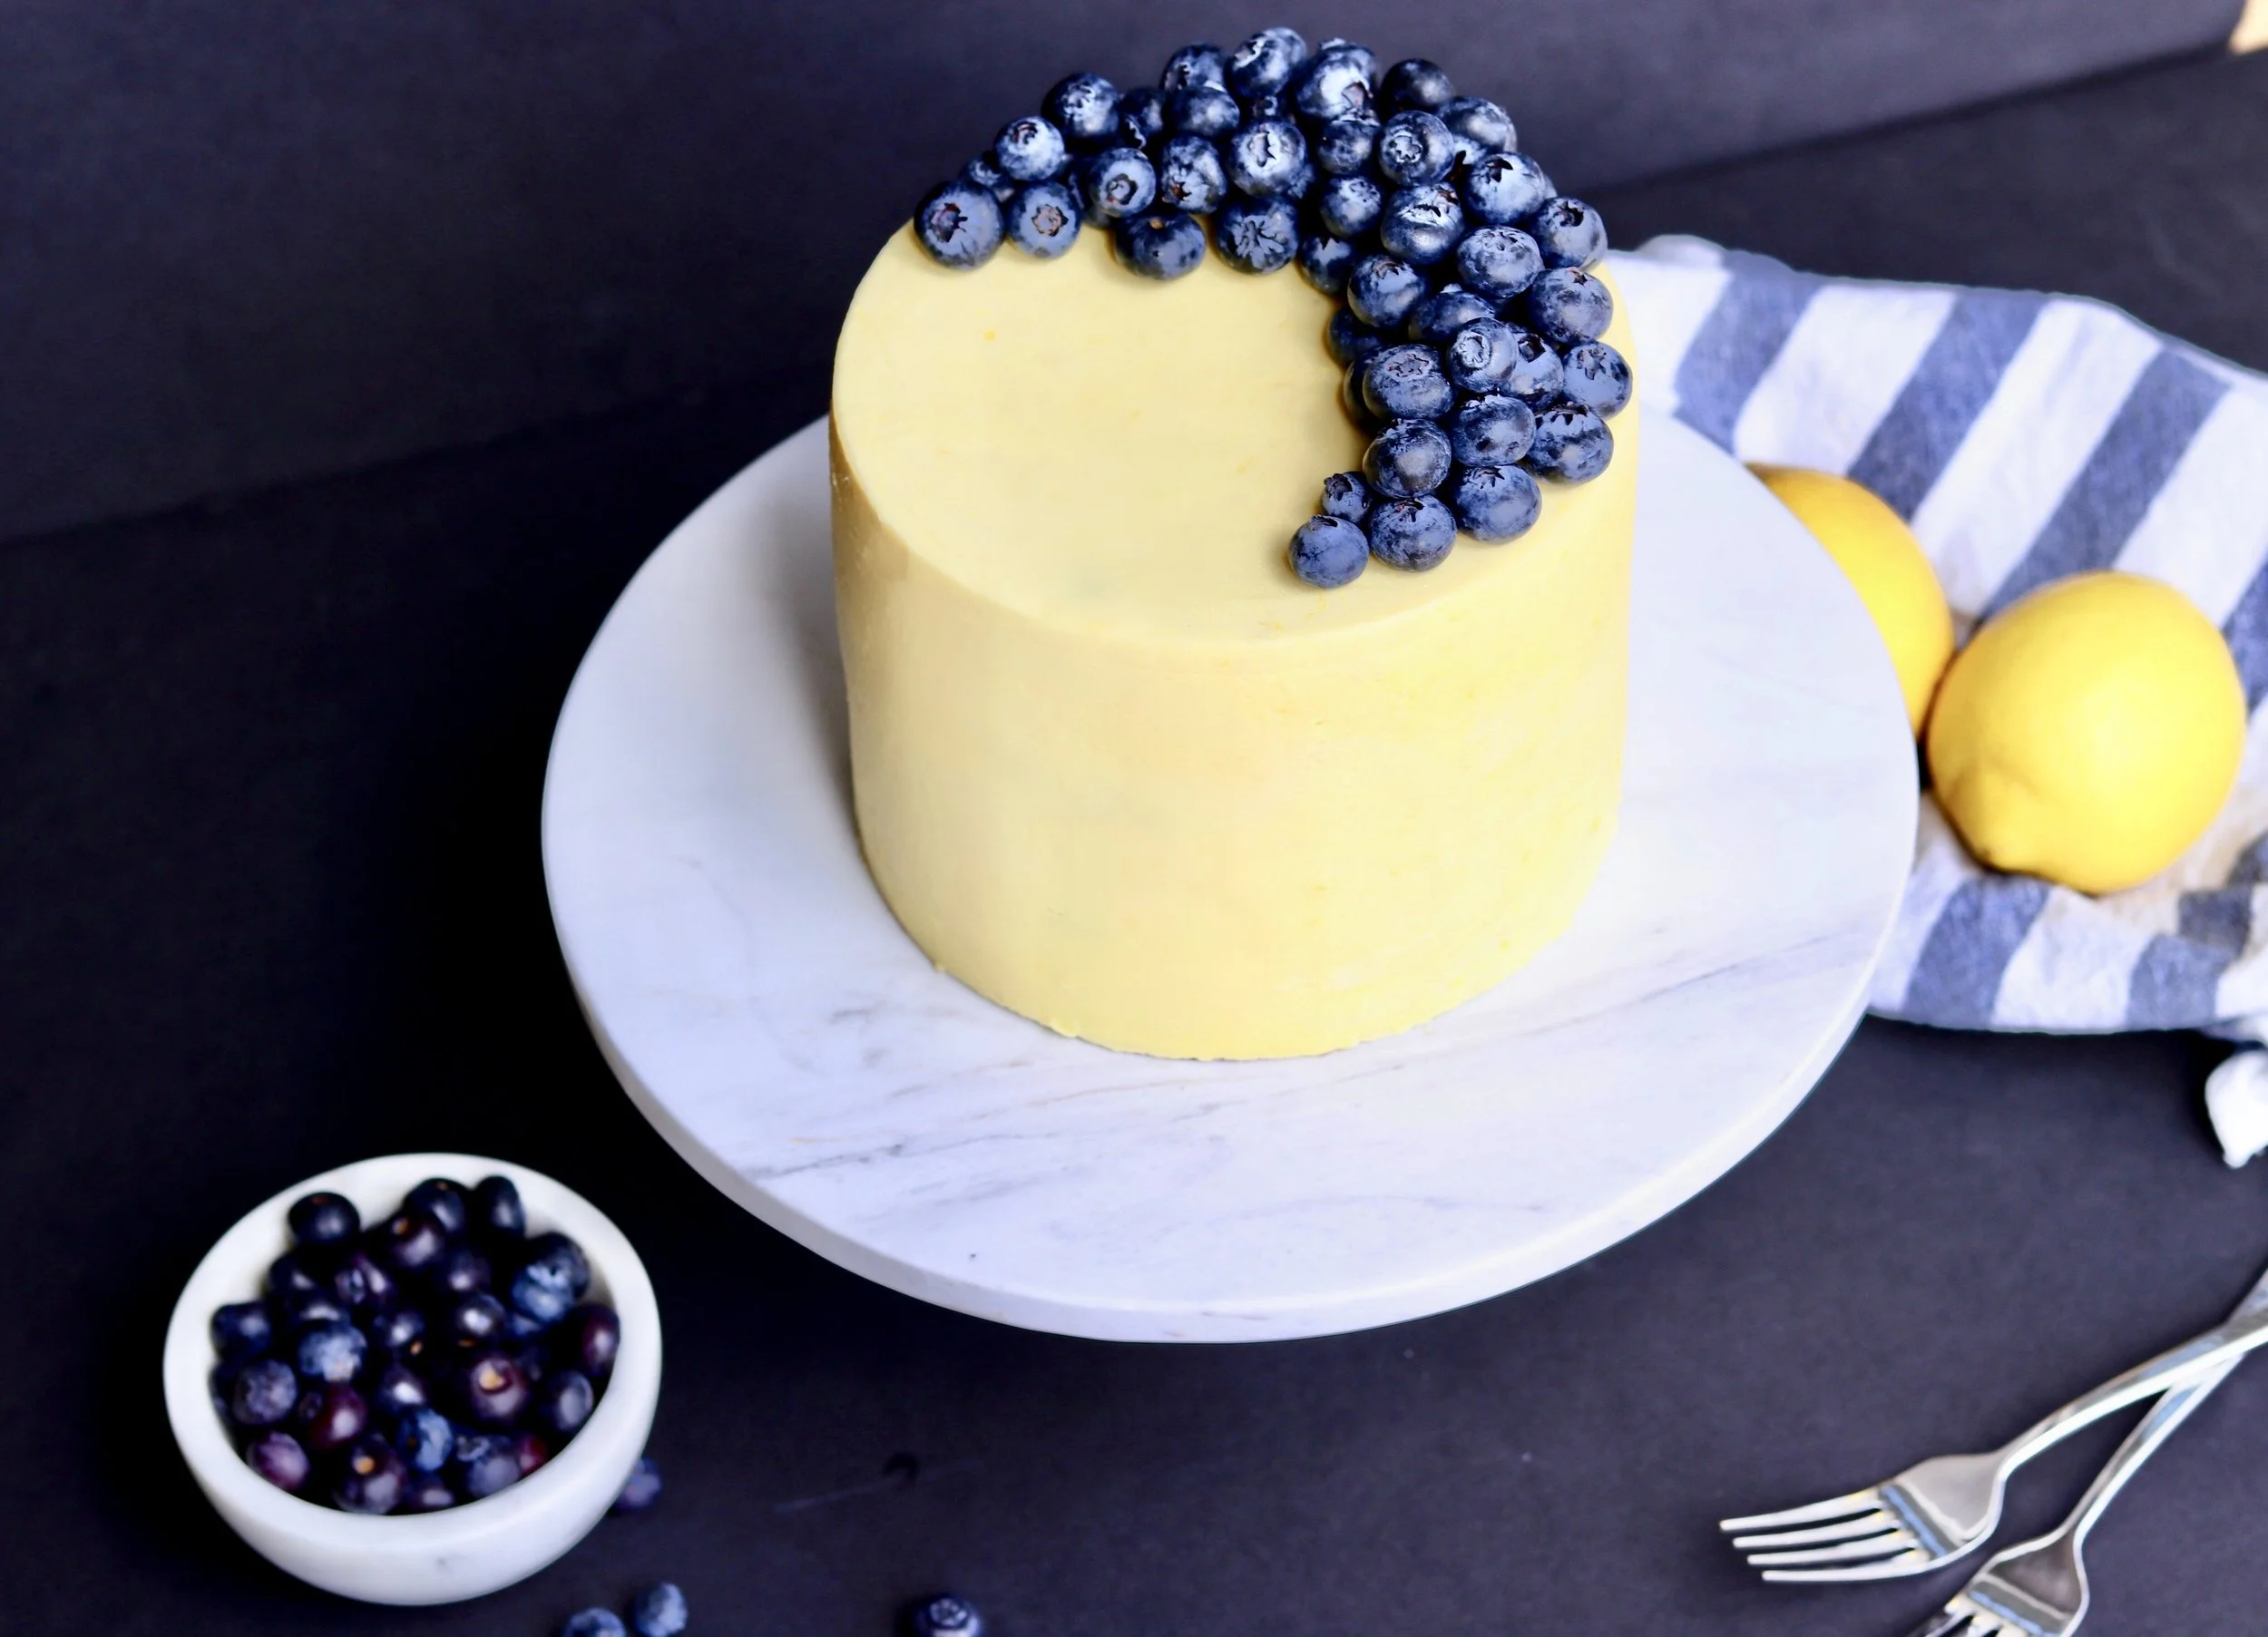
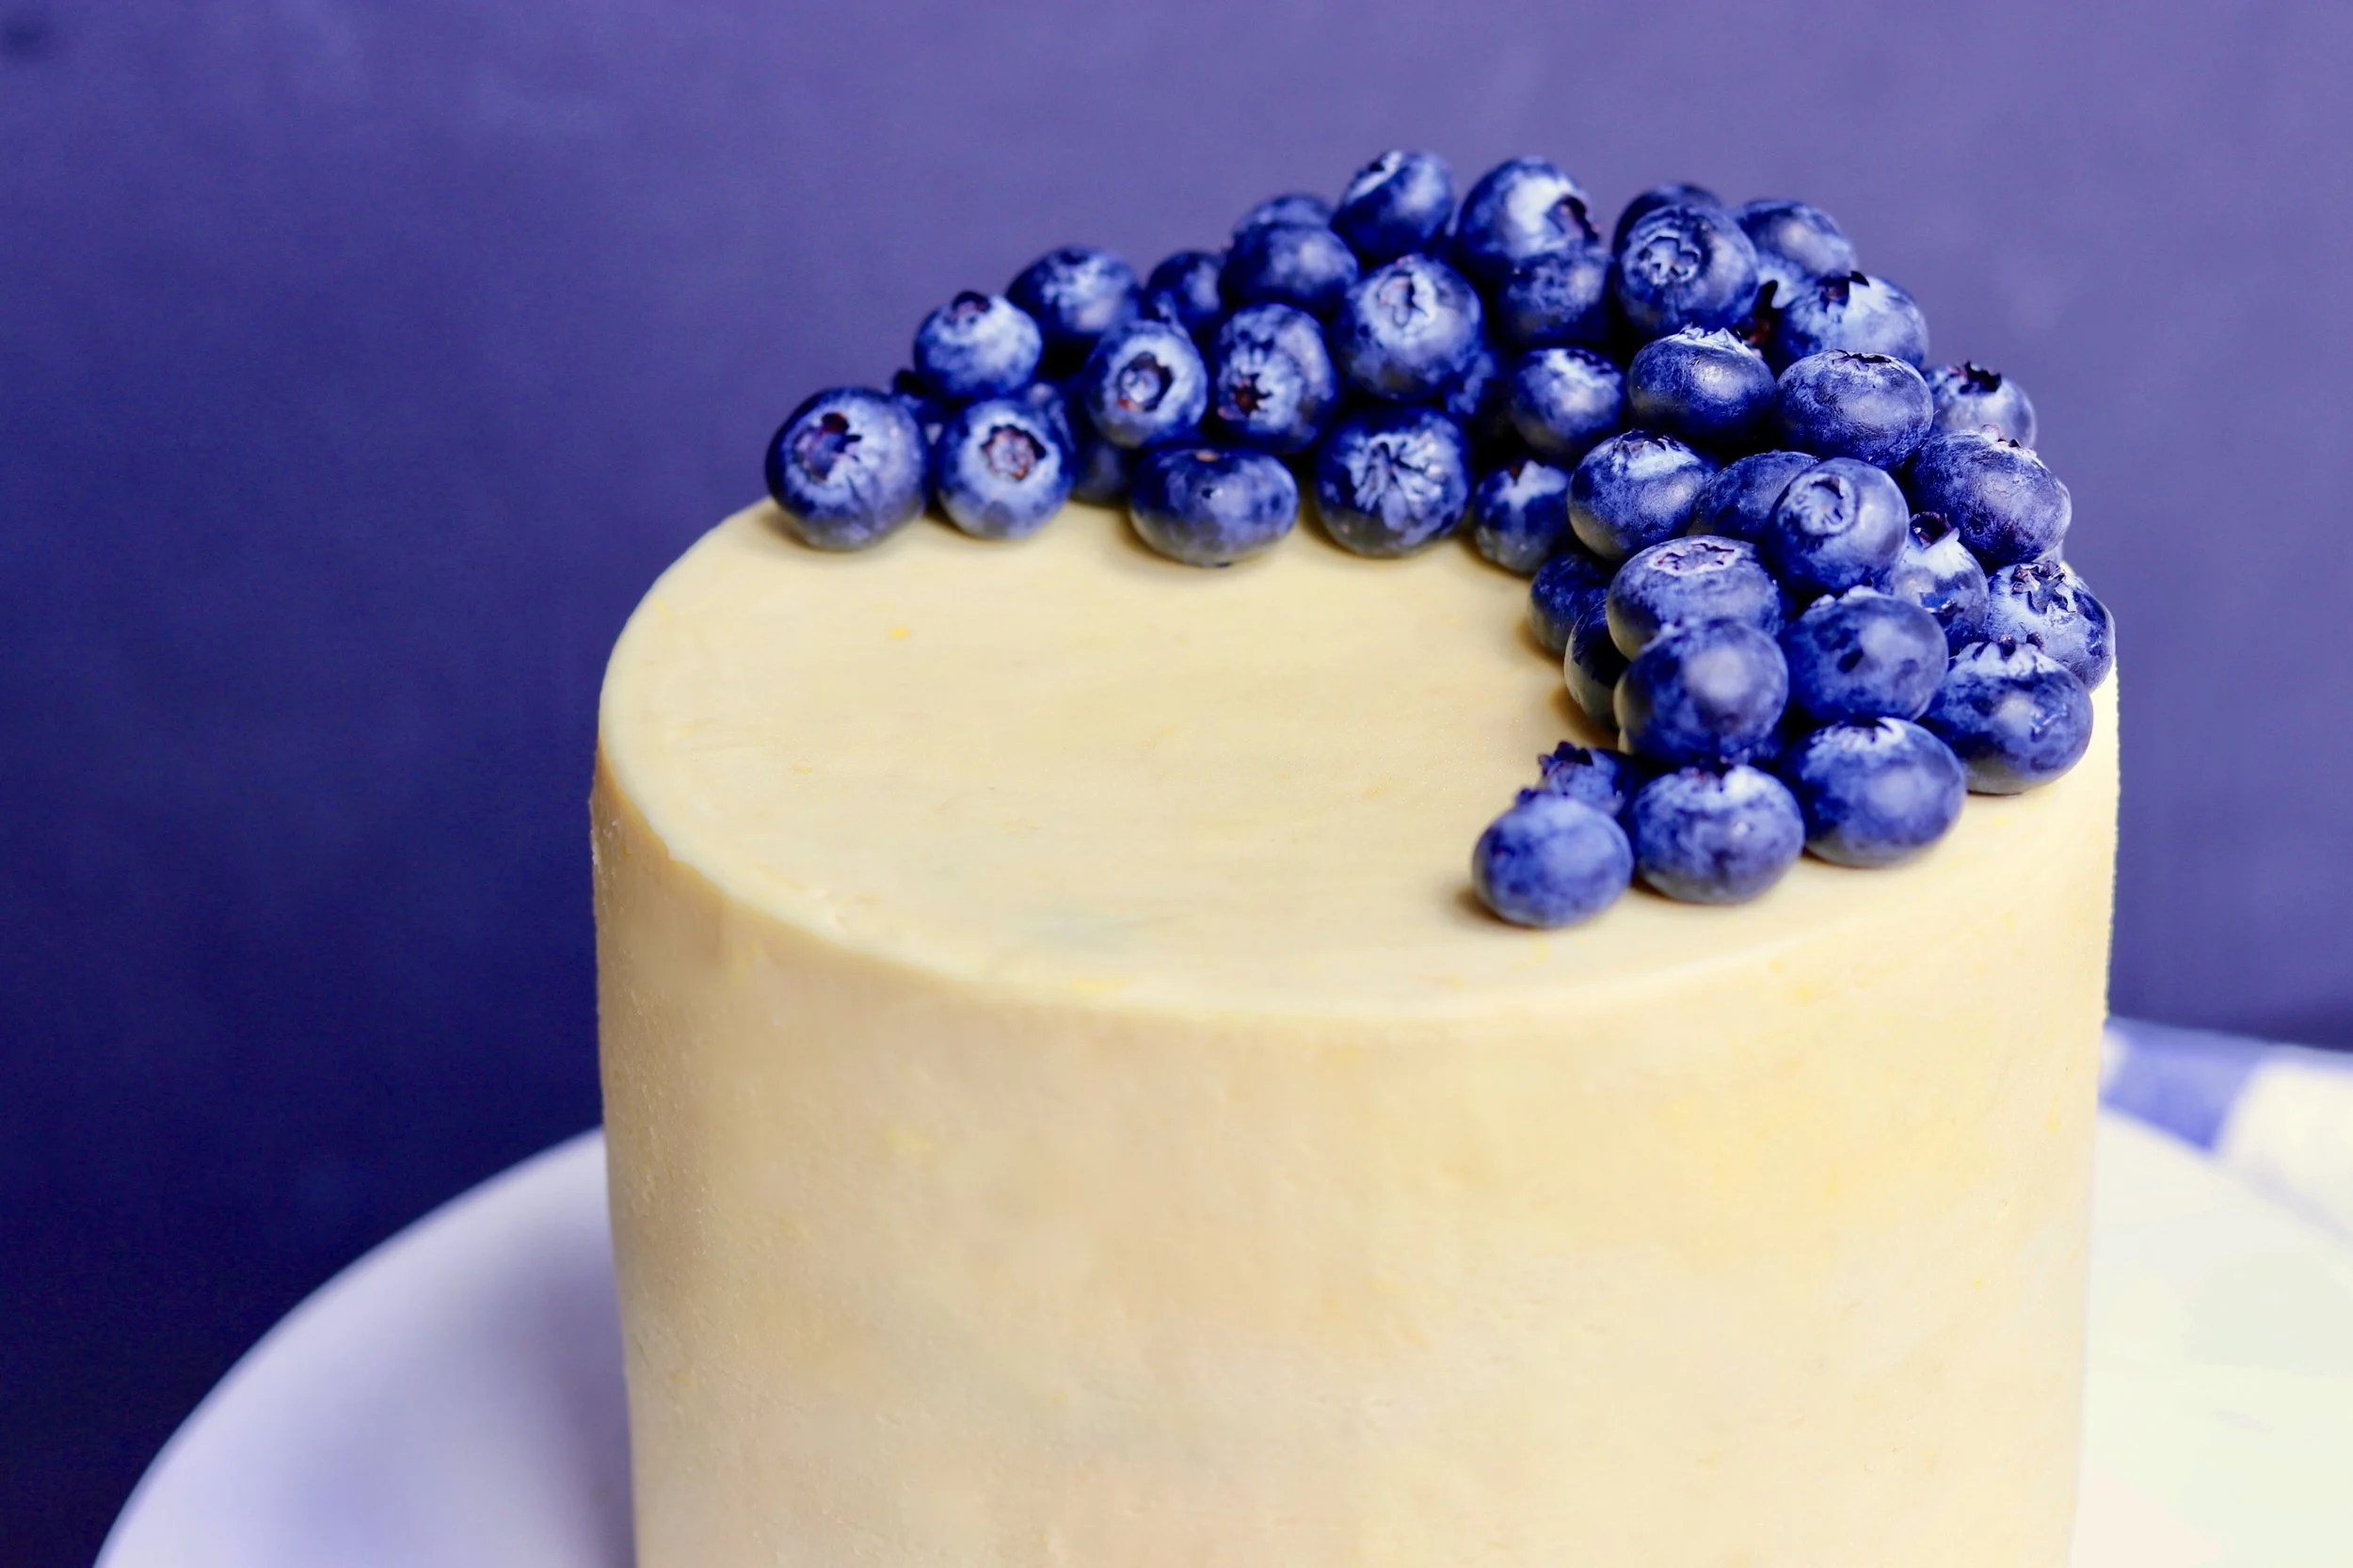
MOIST LEMON BLUEBERRY CAKE

Once upon a time, my friend and I had a little cupcake business. After months of trial and error, we perfected the art of an amazing, moist, from-scratch cupcake. However, because of my cupcake success, I never really made actual cakes for special occasions! It wasn’t until I started following Cake by Courtney on Instagram that found myself aching to learn the art of cake decorating. I asked for a few supplies for Christmas and about six months after that, I attempted my first “pretty” cake using all my new tools!
Since then, I have been making cakes for most special occasions and it has been so much fun! I still have SO MUCH to learn and need way more practice, but I feel more and more confident with every cake!

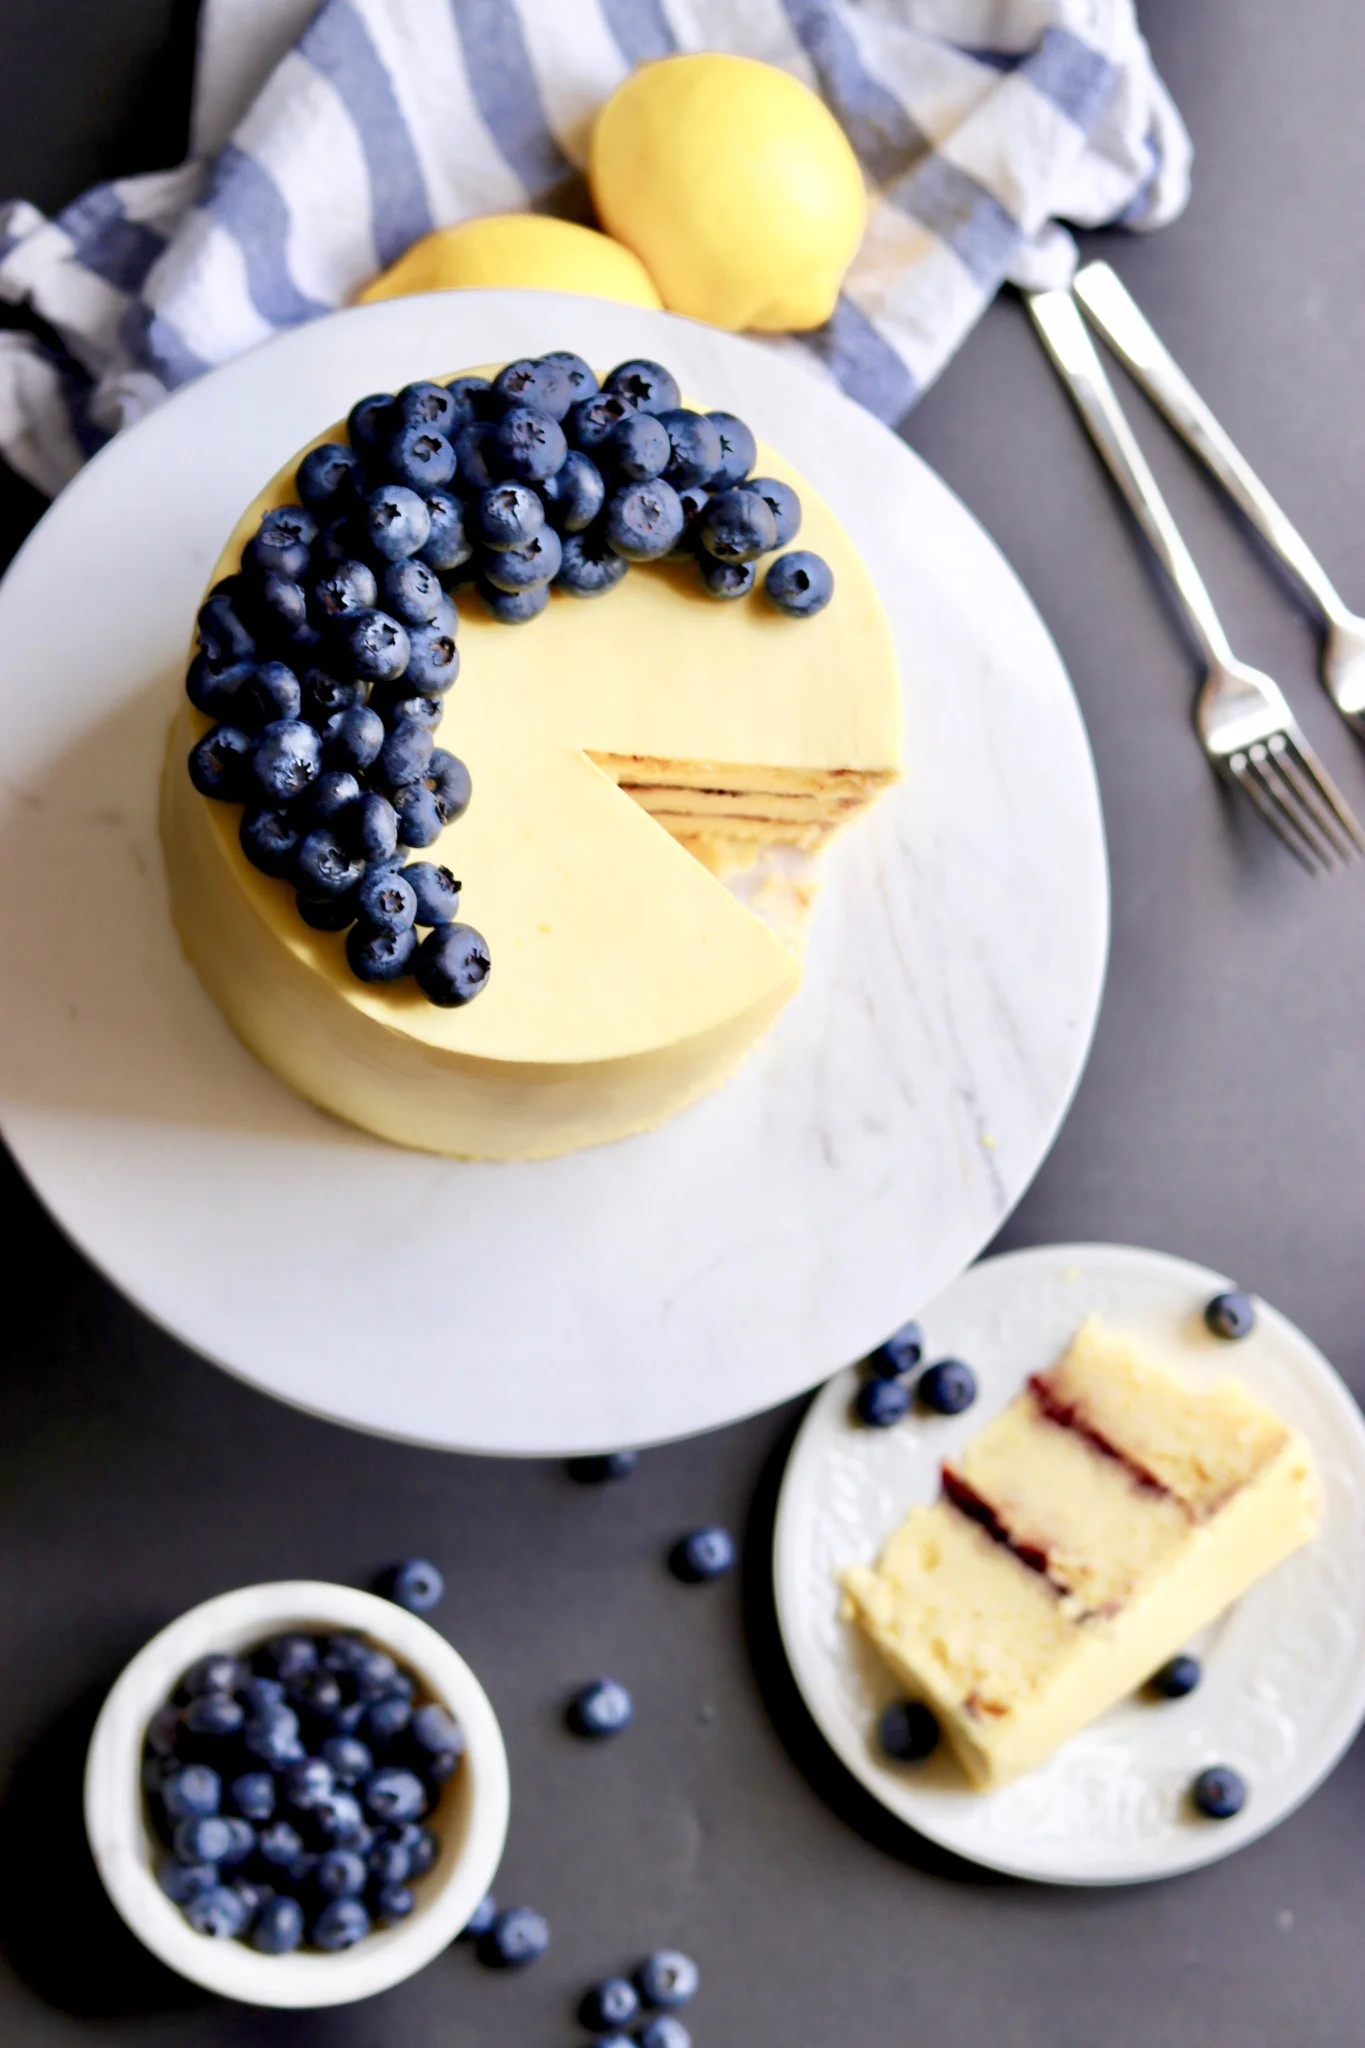
I chose to use blueberry preserves and lemon curd for the filling of this cake, but I’ve done it with raspberry preserves and a homemade strawberry sauce before, and both were equally amazing.

 Moist Lemon Blueberry Cake
yields three 6-inch rounds, two 8- or 9-inch rounds, or one 9×13 in pan
For the Cake:
- 1 package white cake mix
- 1 small package (3.4 oz) unprepared instant vanilla pudding
- 3/4 cup of thawed frozen lemonade concentrate
- 1 cup sour cream
- 2 tsp lemon zest
- 3/4 cup oil
- 4 egg whites
- 4 drops yellow food coloring
For the Buttercream:
- 1 cup unsalted butter, slightly softened
- 4 cups powdered sugar
- 1-2 T cream
- 1 teaspoon vanilla extract
- pinch of salt
- 1-2 teaspoons lemon zest
- 3-5 drops yellow food coloring
For the Filling:
- One thin layer of your buttercream frosting (to prevent additional fillings from soaking into the cake too much)
- One thin layer Dickinson’s Lemon Curd
- One slightly thicker layer Bonne Maman Wild Blueberry Preserves
Cake Directions:
- Preheat oven to 350 degrees and prepare pans by spraying with cooking spray, placing a piece of parchment paper on the bottom of each pan, and then spraying them again. Set aside.
- Add all cake ingredients to the bowl of a mixer or a large mixing bowl and mix on medium low until just barely combined.
- Divide batter equally between pans and bake until a toothpick inserted into the center comes out with just a few crumbs clinging to it. The baking time will vary significantly depending on which size pans you choose to use and how many pans you bake at once. Set your timer for 25 minutes and then check cakes. If you’re only cooking one pan at a time, it will bake faster. I used 6-inch pans, but I had three, so I baked them all at once. They were definitely not done after 25 minutes…It probably took around 30-35 minutes. Just keep checking on your cakes! You don’t want to overcook them or they will end up dry!
- Once baked, remove cakes from the oven and place pans on cooling racks to cool for 5-10 minutes. Then flip cake out of pans directly onto cooling racks to finish cooling. Once cakes are completely cooled, I like to wrap them in saran wrap and place them on a flat surface in my freezer to really cool them before I frost my cake. However, don’t put them in the freezer before they have cooled to room temperature or you will develop ice crystals on your cake.
Frosting Directions:
- Soften butter slightly for easy mixing, but do not get it too soft or the frosting will be too runny. I like to stick the cold butter in my microwave for 8-10 seconds and that usually gives me the perfect consistency.
- Mix butter on medium-high for 5 minutes, until creamy.
- Add powdered sugar and mix until fluffy.
- While mixing, add in cream, vanilla, salt, food coloring, and lemon zest.
- Mix on medium high for 5 minutes.
- Turn off mixer and stir frosting by hand to remove air pockets
Cake Assembly Directions:
- Trim cakes if necessary to ensure they are flat and even.
- If using round cake layers, start by taping a cake board the same size as the cake to a cake board that is 2 inches larger than the cake. Secure cake onto cake boards by putting a little frosting down first and then placing the cake face down on top of it.
- Coat the top with a thin layer of frosting to keep fillings from soaking into the cake layers. Then top with a thin layer of lemon curd and a slightly thicker layer of blueberry preserves.
- Place the next cake layer on top and repeat step three.
- For the crumb coat, place a spoonful of frosting on the top of the cake and pull out towards the edges. Frost the sides by spinning the cake around as you spread the frosting over the entire cake. Do not spend too much time on your crumb coat as it will get covered up by more frosting, but try to make it relatively smooth. Once satisfied, place the cake in the freezer for 15 minutes to set the frosting and to secure the layers (the cake will feel slippery/slide-y because of your wet fillings, so this step is pretty important).
- Once you remove the cake from the freezer, place another cake board that is the same size as the cake shiny side down on top of your cake. Secure the cake board by frosting the top sides of the cake first. and fill in the entire area between your top and bottom cake boards. This will ensure you have a straight, even cake.
- Smooth frosting using a cake scraper. If you have a rotating cake stand, try to place your scraper on the back side of the cake and spin the entire cake in one fluid motion.
- Fill in any air pockets with additional frosting and repeat until smooth.
- Put cake back in freezer for 15 minutes to set frosting again.
- Remove cake from freezer and use a paring knife to carefully cut the top cake board off the cake.
- Add additional frosting to the top of the cake and smooth using the cake scraper.
- If you are not eating the cake until the next day, place it back in the freezer for 15 minutes to set the frosting and then wrap it in saran wrap and keep it in the freezer until about 2-3 hours before you wish to eat it. If freezing it for more than one day, also wrap it in aluminum foil.
- Right before serving, top with fresh blueberries and enjoy!
